Film Lighting Basics: The Tools you Need to Become a Master of Intensity
This is Part 1 of a Film Lighting Basics series from Robert Machado and Jeremy Le. The series will cover Intensity, Quality, Color, Shape, and Direction. Intensity refers to a light’s brightness and output and is generally referred to in watts, which vary depending on the bulb/fixture. That's it - pretty easy to understand! But, difficult to control.

 By dropping exposure by nearly 2 stops (as in these two below), we were able to achieve the desired look for the video.

'Foot-Candles' and Exposure
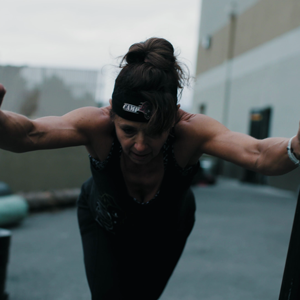
In film, we measure the illuminating of our subject by 'foot-candles'. One foot-candle is the amount of light cast on a subject from 1 foot away. The intensity of the key light drives your exposure decision. Different scenes call for different exposure decisions as well as the motivation/direction for lighting... Where is your light coming from? How under/over should you expose to fit the scene, if at all? It is important to approach lighting so that the audience doesn’t think about it and allows for the suspension of disbelief. Exposure decisions help achieve a certain look for your story. On a recent shoot at a gym, we wanted the overall look to be low-key with a high contrast ratio. During the shoot day, we were presented with a very bright, overcast sky. We intentionally underexposed to match the tone of the rest of the video and helped portray the gym’s rigorous work ethic. The two scenes below are stills taken at normal exposure during the day exterior. By dropping exposure by nearly 2 stops (as in these two below), we were able to achieve the desired look for the video.
The Inverse Square Law
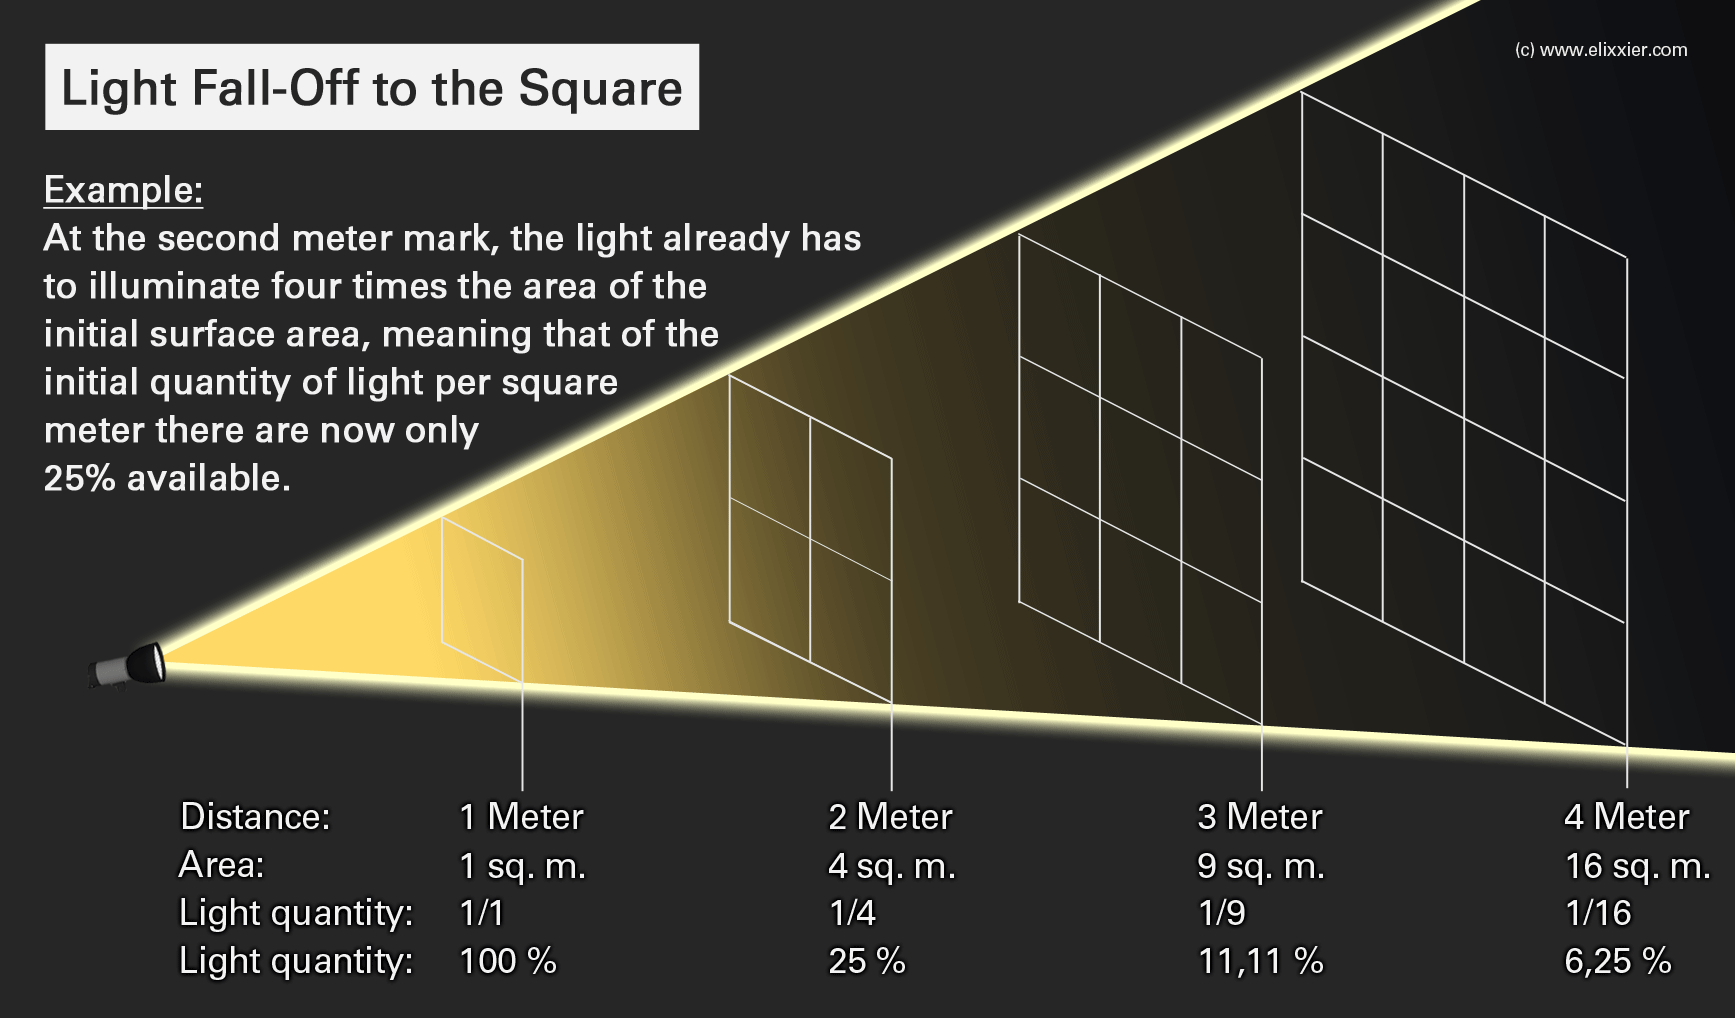
We adjust and manipulate the intensity of light in a wide variety of ways. One of the simplest ways to adjust intensity is by simply moving the light away from the subject. Light intensity drops off dramatically as you move away from the light source. The inverse square law decreases a light’s intensity by the square the further away it moves from the subject. For example, if you have a light two feet away from your subject and then move the light to four feet away, you would only have ¼ of the light. In essence, every time you double the distance, you end up with ¼ of the light of the previous distance.
Dimmers, Light Meters, Nets, Scrims, and ND Gels
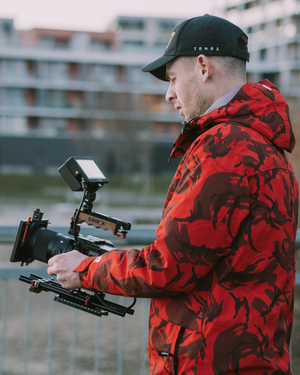
Using a light meter is essential for nailing correct exposure and is crucial in deciding how much to over/underexpose, whether for technical or creative reasons. In this interview, our A-cam was on a 20mm wide-angle lens to include as much as possible in the surrounding background.  We were forced to move the silk as far back as we could so that it wasn’t in frame. We know light falls off exponentially, so we used two 1k LED panels to achieve desired exposure.
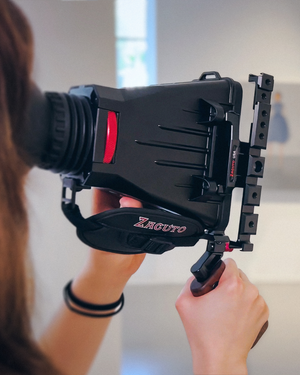
  Different lights require different methods of adjusting intensity. Dimmers lower a light’s output by decreasing the electricity flowing into the unit that generates the light. Dimmers are great for incandescent or tungsten lights. However, they do become significantly warmer in color temperature the more they are dimmed. Another way to control the intensity of a light is by using nets or scrims. These are fabrics with a very fine mesh that mitigates the amount of light that passes through. They come in several different flavors: singles, doubles, triples, etc. These are great ways to adjust a light’s intensity without affecting its color. In this scene, a double net is lowering the light’s output by one full stop to match the exposure of the practical lights within the frame.
  Similar to scrims, neutral density gels can be fixed to lights without affecting color. This makes for a convenient and inexpensive option for light reduction when space is limited. ******************************************************************************
This is the 1st in a 5 part film lighting basics series from Robert Machado and Jeremy Le.
Read Part 2 - Film Lighting Basics: Soft Lighting and Hard Lighting in Film
Read Part 3 - Film Lighting Basics: What’s the Color of Your Movie?
Read Part 4 - Film Lighting Basics: 6 Ways to Shape Your Light
Read Part 5 - Film Lighting Basics: Motivate Your Scene and Your Audience Through Direction 
Leave a comment