How to Film Rain Like a Pro
We filmmakers are always looking for ways to create exciting and dramatic moods to heighten the drama of a movie.
One of the most effective and available tools we have at our disposal is the tried and true Rain Sequence. It’s a cheap trick, but it might just work. But the truth is, to do it well...It’s not that cheap. It takes a lot of equipment, man-power and planning.
Let’s take a look at a rain sequence and learn How To Film Rain. In this case one of my car commercials.

 The idea is to do all the big wide shots when there is “no hard sunlight.” The best time for this would be first thing in the morning and last thing after the sun goes down. i.e. Magic or Golden hour. These are the only times of day that you can be sure there will be no sunlight.
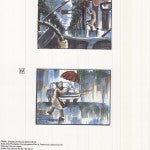
 And you might use something like this for the foreground.
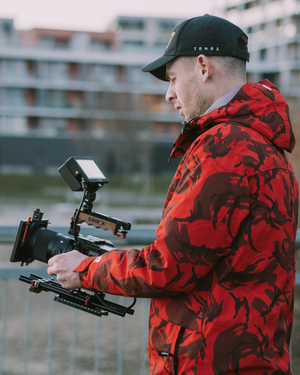
 Very often the big rain rigs and the rain bars are too awkward to deal with, as they require condors and cranes to rig them. So often the easiest choice is Rain Towers or a Rain Wand for hand held or dolly shots.
 Rain Towers are just long pipes with stands and sprinkler head. They are easy to move around and cover a variety of situations.
But beware of rain towers and especially multiple rain towers. They can often give you a very artificial look, which brings me to my pet peeve number three. “Oh look, the rain’s coming from two different directions at once.” Make sure that rain coming from the sprinkler-heads are not crossing each other. It’s better to get a bigger sprinkler head and not use all of it, than to try and use multiple heads to try to cover the scene. Don’t shoot too wide or let the sprinkler heads get to close to the edge of frame, it will destroy the magic!
Rain Towers are just long pipes with stands and sprinkler head. They are easy to move around and cover a variety of situations.
But beware of rain towers and especially multiple rain towers. They can often give you a very artificial look, which brings me to my pet peeve number three. “Oh look, the rain’s coming from two different directions at once.” Make sure that rain coming from the sprinkler-heads are not crossing each other. It’s better to get a bigger sprinkler head and not use all of it, than to try and use multiple heads to try to cover the scene. Don’t shoot too wide or let the sprinkler heads get to close to the edge of frame, it will destroy the magic!
Don’t light it too hard
Don’t light it too soft
Don’t have your lights close to the frame edge. (hotspots)
Keep the backlights off the actor, so it doesn’t look like he’s standing in the sun


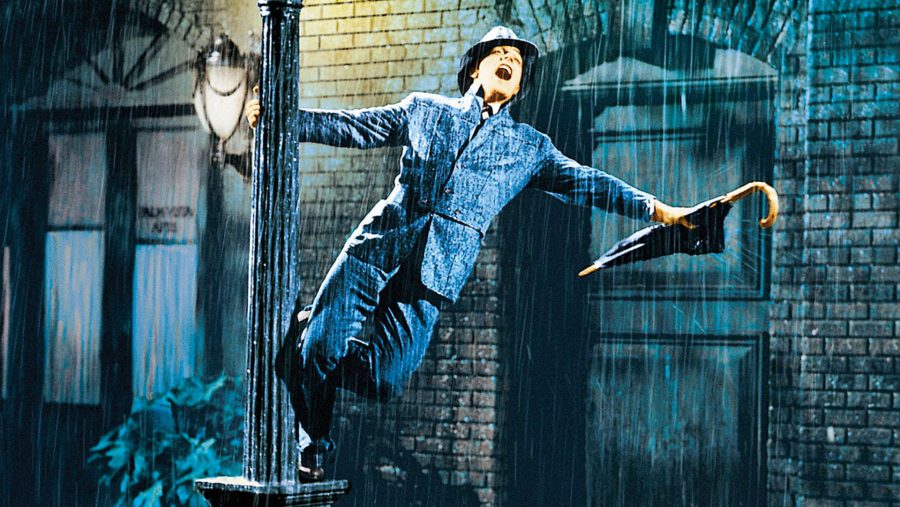
Don’t Shoot In The Sun
One of the first things you should notice is that there is no hard sunlight in any of these shots. This was actually one the hardest things to achieve in making this commercial. In Florida. In June. But it what gave the spot its authentic look. One of my pet peeves is seeing hard sunlight in a rain sequence. I always say to myself, “Oh look, the sun’s out, and it’s raining. There must be a rainbow somewhere.” It’s not like it never rains when the sun is out, but it’s rare, and it makes me ask questions which takes me out of the movie.It’s All In The Planning
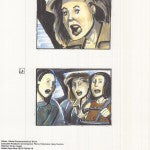
What you don’t see in the commercial is all the careful planning and the “Light Studies” that went into producing this sequence. A Light Study is conducted by sending a Production Assistant to the location with a camera. Picking several camera-positions and having the sun’s position recorded throughout the day.


 The idea is to do all the big wide shots when there is “no hard sunlight.” The best time for this would be first thing in the morning and last thing after the sun goes down. i.e. Magic or Golden hour. These are the only times of day that you can be sure there will be no sunlight.
The Wide Shots
By their very nature, these are the biggest set ups and hardest for creating rain. And now here’s another of my pet-peeves...“Look, it’s raining in the foreground, but not in the background behind the actors.” I hate that! What this means is, for a wide shot, you will have to set up lots of “rain rigs” fed with a spaghetti of fire hose to cover the foreground and the background at the same time. But, there is a problem using the morning magic hour to set up a big shot. You will need a 4.00 A.M. call to get everything set up in time to roll cameras at dawn. And you will have to work in the dark to get it done. It’s doable, but it’s a tough logistic. You better be sure you have enough manpower and work lights to pull it off! On this two day commercial I needed three magic hours. Because we were shooting in the summer, the days were long and the magic hours were about fourteen hours apart. This meant that one of our shoot days lasted 18 hours, which didn’t make the producer very happy. It also meant that all the shooting-angles needed to be chosen ahead of time. This is not the kind of shoot you show up for with all the equipment and try to figure it out on the fly. Preparation is everything if you don’t want a two-day shoot to turn into a four-day shoot. These are the kinds of logistics that must be planned before a schedule can be made.Medium Shots and Close Ups
Next you have to figure out your sized medium shots. For these you don’t need magic hour, but you still need to be able to do them in shade. If you pick the right spots relative to the sun position (using your light study) you will find that large parts of the street remain in shade for quite a while due to the canyon effect of the buildings. You will find that the amount of street that remains in shade gets smaller and smaller until noon. Therefore your shots will need to get tighter and tighter as the morning goes by. And when noon rolls around, you need to be shooting inserts...or eating lunch. As the afternoon draws on and the shadows get longer again, you get another opportunity to shoot larger and larger shots. But now what you really need to be focusing on is getting a head start on the big magic hour shot. Because even though you are setting-up in the daylight now, your magic hour light will only last for an hour or so. Don’t get caught out.Rain Rigs
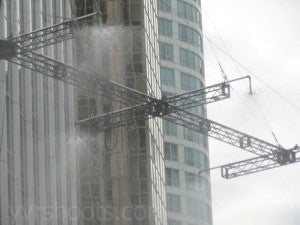
I’ve done rain sequences with garden hoses and Chinese Military Fire Trucks, but for our purposes let's look at professional Visual Effects equipment. When you are raining a huge part of the street you will need a rig like this to get your background.
 And you might use something like this for the foreground.
Lighting Rain
There used to be a saying, “You have to back light the rain, or you won’t see it.” It’s true that back in the film days...if you were on a lens that was too long...or a lens that was too wide. Or if you were shooting a scene where the contrast was too neutral...you get to dailies and some smartass pipes-up from the back...“What rain?”. That will make your heart skip a beat for sure. However there have been a lot more occasions where I have over lit the rain and it looks phonier than hell. With digital photography, What you see is what you get. So by looking at the monitor it will be readily apparent if the rain is reading well. But if you have to back light the rain…
Water Sources And Control
Hydrants have a continuous source of water, and they generate their own water pressure, but they require permits and special tools. Make sure you have them. Water trucks have the convenience of being able to move from setup to setup but they need to be refilled, usually from a hydrant some distance away, and often the only control you have is a throttle on the water-pump. A rain rig can be run from a water truck, fire-hydrant, even a water faucet if you are working on a small scale. But when you go from any of these devices “directly” (i.e. just with an on/off valve), you will find it very hard to control the look of the rain with any degree of fine-tuning. Authentic looking rain is all about careful adjustment. So make sure your Effects Rental Company has effective modulation equipment. This will usually include a series of valves, on a manifold and a large reservoir tank.A Poor Man’s Rain Sequence
It’s called a 'wet down'. This is where we water down the street and sidewalks to look like it just stopped raining. This is still a powerful atmospheric for a movie, but at a fraction of the cost. We usually do it with a water truck, which makes a pass down the street or ally right before the shot. A good water-truck driver is like an artist with his water-nozzles. He can water down right up to the edge of your frame with great precision. But if he’s a “nubie,” make sure you’re wearing rain boots and your cable is up off the ground when he comes by. And don’t forget to water down any trees, so they can drip during the take. Of course this can also be done with a hose, but beware of trying to cover too big an area with too small a water source. It will cost you a lot of production time. Once you establish a wet-down in a sequence, you will need to follow through. A word of warning: Water evaporates very quickly on warm pavement. So if it’s been hot, think twice before committing to a wet down for a long sequence.Real Rain
I’ve been on more than one shoot, when the producer looked at the next day’s forecast at 100% chance of rain - “You see, we don’t need that expensive rain equipment tomorrow, after all.” Wrong. If you start shooting a sequence in the rain, you can bet it will stop raining before you are done. What do you do then? Very often you use Special Effects Rain Rigs to keep the rain consistent, even on a rainy day. And in conclusion, you may be playing God and creating your own rain, but that doesn’t mean you and your camera, are not going to get wet. So “Keep Your Powder Dry.”
Leave a comment